The Active-Archive System: How to Organize School Papers Without a Filing Cabinet
You return to your room after a long afternoon of classes, drop your backpack onto the floor, and watch a loose avalanche of worksheets, graded quizzes, and handouts slide across the floorboards. You know the history exam is coming up next Tuesday, and you vaguely remember that the key study guide is buried somewhere in that multicolored paper drift. It is not inside your binder, it is definitely not on your desk, and your backpack looks like a recycling bin that exploded. Buying a bulky metal filing cabinet is out of the question—you do not have the floor space in your bedroom or dorm room, and spending allowance money on office furniture feels entirely unnecessary for school handouts. What you need is a realistic physical system that handles loose paper without taking over your living space. Learning how to organize school papers without a filing cabinet starts by recognizing that traditional office storage methods were built for corporate cubicles, not student backpacks. When you adopt a streamlined approach that categorizes papers by their immediate utility rather than tucking them away into heavy drawers, keeping your school materials sorted becomes a quick, low-friction habit that fits easily into a busy student routine.
Why Traditional Paper Management Fails Students
The Myth of the Permanent Archive Binder
Many students attempt to solve paper clutter by purchasing a massive three-ring binder with colorful tab dividers for every subject at the beginning of the semester. Within three weeks, this method usually collapses under its own weight. Pushing a three-hole punch through every crumpled handout during a passing period is tedious, and as a result, papers end up folded in half, shoved into front pockets, or stuffed randomly between notebook pages. A binder assumes that every piece of paper holds equal long-term value, which is rarely true in a typical school week. Most handouts fall into distinct categories: reference sheets you need for daily homework, temporary notices you need for forty-eight hours, and study materials you will need once for an upcoming unit test. Treating every single sheet of paper with the same level of permanence creates unnecessary bulk. When a binder becomes too thick to close comfortably, it stops being a tool and starts becoming a portable junk drawer that you actively avoid opening.
The Spatial Reality of Student Rooms
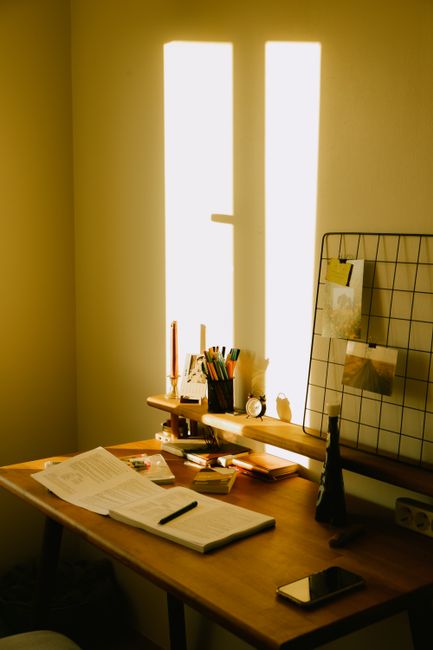
Traditional filing cabinets require dedicated floor space, hanging folders, plastic tabs, and a level of permanent organization that does not match the fluid nature of student life. If you live in a shared bedroom, a tight apartment, or a college dorm, you simply do not have room for a heavy office storage unit. Furthermore, lugging papers back and forth between home and classes means that any stationary storage system at home is disconnected from where you actually use the materials. If your storage is not portable or at least extremely compact, papers will inevitably pile up on your bed, your floor, or the kitchen counter. A practical paper system must live where you live, move when you move, and require minimal upkeep so that you can maintain it even during the busiest weeks of the grading period. Instead of fighting against your physical environment with bulky furniture, you can build a realistic school routine that integrates paper sorting into brief, manageable windows of time.
The Five-Step Active-Archive Method
Step 1: Establish the Two-Zone Distinction
The foundation of the active-archive system is dividing all incoming paper into two distinct zones: the Active Zone and the Archive Zone. The Active Zone holds only the papers you need for the current week or the current unit of study. This includes active homework assignments, rubrics for ongoing projects, and daily worksheets for classes currently in session. The Archive Zone holds completed tests, past quizzes, and reference guides that you might need to review later for a midterm or final exam, but which have no immediate daily utility. By strictly separating what you need today from what you might need months from now, you prevent your daily workspace from becoming cluttered with past assignments. Every time you touch a piece of paper, you must immediately categorize it into one of these two zones.
Quick Tip: If you have not looked at a specific handout in more than fourteen days and it is not required for an upcoming cumulative exam, move it out of your active zone immediately.
Step 2: Set Up the Portable Active Folder
Instead of a bulky filing cabinet or an overstuffed binder, designate a single, lightweight, multi-pocket accordion folder or a set of color-coded poly folders as your active paper container. This container lives inside your backpack every single day. Assign one pocket or section to each of your active school subjects. When a teacher hands out a worksheet, it goes straight into the corresponding subject pocket in your active folder. There is no hole-punching required, and there are no awkward plastic rings to jam. At the end of every school day, your only job is to open this folder on your desk at home and pull out any completed assignments that need to go into your backpack's submission tray or onto your computer for digital uploading.
Step 3: Build the Compact Archive Station
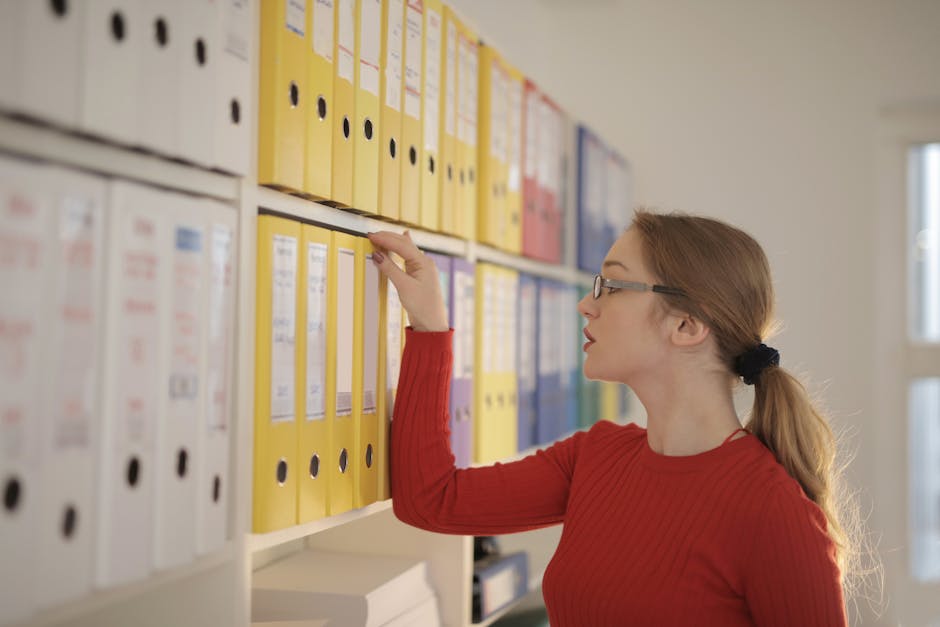
Because you are not using a filing cabinet, you need a compact, low-profile storage solution for your archive materials at home. A simple plastic storage box, an upright desktop magazine holder, or a sturdy heavy-duty document envelope for each subject works perfectly and can be tucked onto a bookshelf, slid under a bed, or stored on a closet shelf. Each weekend, you sweep through your active folder and remove any papers that belong in the archive zone—such as quizzes from three weeks ago or completed project drafts. Label each archive container clearly with the subject name and the current academic term. This keeps your past reference materials completely safe and searchable without occupying any permanent floor space in your room.
Key Takeaway: Archiving is not a permanent storage graveyard; it is a temporary holding zone that you review and purge at the end of each grading period.
Before moving on to the next phase, review this quick-reference checklist to ensure your foundational setup is properly balanced and easy to maintain throughout the school term:
- Clear your current desk surface completely so you are working with a blank slate.
- Secure one lightweight accordion folder or a set of poly folders to serve as your daily active carrier.
- Designate a small shelf, box, or magazine holder at home to act as your archive station.
- Sort every loose paper from your backpack into either the active zone or the archive zone based on its current utility.
- Recycle or discard scratch paper, expired event flyers, and completed daily practice worksheets that have no future study value.
- Label your folders and archive containers clearly with subject names to eliminate guesswork during late-night study sessions.
Now that your active container is established and your archive station is ready on your shelf, you are prepared to tackle the workflow maintenance that keeps papers from spilling back onto your desk. Step 4 introduces the weekly ten-minute reset routine that prevents backlog accumulation and ensures every loose handout ends up in the right place before it can get lost.
Step 4: Execute the Daily Two-Minute Paper Triage
Maintaining a paper management system does not require a massive weekend overhaul if you build a tiny, consistent daily habit. At the end of every school day—right when you unpack your bag or sit down to start homework—spend exactly one hundred twenty seconds sorting the loose papers that accumulated since morning. Open your backpack, extract any crumpled handouts or teacher notes, and sort them immediately. Trash the scratch paper and expired event flyers. Place active worksheets directly into the correct subject pocket of your portable folder. If you received a graded quiz or a completed project rubric that belongs in your home storage station, slide it into a designated holding pouch that travels with you until you reach your desk. By executing this quick two-minute triage every single afternoon, you prevent paper clutter from building up into an overwhelming weekend chore. This micro-habit ensures that your active folder remains lightweight, current, and completely free of obsolete worksheets.

Step 5: Perform the End-of-Unit Purge
The final step of the active-archive method takes place when a specific grading unit or chapter concludes. When your teacher announces an upcoming unit test or midterm exam, you no longer need to keep every single daily practice page, rough draft, and minor quiz in your active folder. Gather all the papers related to that completed unit and move them together into your home archive station. Keep only the master study guide, the major unit review sheet, and any core reference handouts in your active folder until the test day has passed. Once the test is graded and handed back, transfer those final review sheets into your home archive container as well. This deliberate purge keeps your daily bag exceptionally light, protects your important study guides from getting lost among newer materials, and ensures that you can always find past exam notes if your teacher assigns a cumulative final at the end of the term.
Paper clutter is rarely a failure of character; it is almost always a failure of having a quick, frictionless physical destination for incoming sheets.
Your 15-Minute Reset
If your room is already buried under a drift of mixed-up school papers and you do not know where to start, stop stressing and set a timer for fifteen minutes. Follow this short, sequenced plan to regain complete control over your space today:
- Minute 1 to 3: Gather every loose piece of paper from your floor, your bed, your backpack, and your desk into one central pile on a clear table or flat surface.
- Minute 4 to 8: Sort the pile into three quick categories: immediate trash or recycling, active assignments needed this week, and archived materials from past units.
- Minute 9 to 11: Toss all trash immediately, slide your active worksheets into your portable subject folders, and group your archived papers into a neat stack by subject.
- Minute 12 to 15: Place your active folders inside your backpack, tuck your archive stack into your home storage box or shelf, and wipe down your clean desk surface so you are ready for homework.
Preventing Next Week's Paper Backlog
Establish a Designated Landing Spot at Home
The number one reason school papers spill across kitchen counters and bedroom floors is that students lack a designated landing spot the moment they walk through the door. When you do not have a specific place to drop your active folder, it lands wherever your hand happens to let go of it—the sofa, the kitchen table, or the floor. To stop this cycle, select one permanent location near your entrance or at your desk where your backpack and active folder live every afternoon. Treating this spot as a non-negotiable drop zone creates an automatic boundary that stops loose handouts from migrating across your living space. If you want to improve your time management for students, eliminating the ten minutes you spend searching for misplaced homework sheets every evening is one of the easiest wins you can achieve.

Apply the One-In, One-Out Rule for Handouts
To prevent your folder from swelling back into an unmanageable paper brick, adopt a strict one-in, one-out rule for every class subject. When a teacher hands out a new reference sheet or homework assignment during class, look through your active folder for an older, obsolete paper from that same unit that can be recycled or moved to your home archive container. By balancing every new handout with the immediate removal of an old one, you keep your folder thickness under control permanently. This simple decision rule removes the guesswork from paper maintenance: you never have to wonder if your folder has enough room because you actively manage its capacity on a daily basis.
Frequently Asked Questions
What should I do with oversized art projects, posters, or odd-sized poster boards?
Oversized projects do not fit into standard folders or small archive boxes. Purchase a single large cardboard mailing tube or a flat plastic portfolio case to slide these items under a bed or stand them vertically upright in a closet corner. Label the outside clearly with your project title and class period so you never have to unroll them to see what is inside.
How do I handle loose worksheets if my teachers do not use traditional folders?
If your instructors prefer loose handouts without bound workbooks, take control by bringing your own lightweight multi-pocket accordion folder to every class. Label the interior tabs to match your daily schedule. As soon as the teacher distributes a worksheet, slide it directly into that class section before the bell rings, and your papers will never drift to the bottom of your backpack.
Is it safe to recycle graded quizzes before the semester officially ends?
You should keep graded quizzes until you receive your final grade report for that specific grading period or until your teacher confirms that the grade is locked into the official gradebook. Once a grading period closes and your marks are finalized, you can safely recycle minor quizzes while holding onto major unit exams and cumulative study guides until the final exam is complete.
What if I need a digital copy of a paper handout that my teacher gave out in class?
If you prefer having a backup digital version of your physical handouts, use a scanning app on your smartphone during your two-minute daily triage. Snap a quick photo of the worksheet, save it to a dedicated class folder in your cloud storage drive, and then file the physical paper according to the active-archive system. This gives you instant access to your notes even if you leave your physical folder at home.
This article offers general educational information, not medical advice. If distress is persistent or you feel unsafe, speak with a trusted adult, a school counselor or a qualified health professional.
Conclusion
Organizing school papers without a filing cabinet is entirely achievable when you stop relying on bulky office furniture and heavy archive binders. By establishing a clear two-zone distinction, carrying a lightweight active folder, setting up a compact home archive station, and running a quick daily triage, you can keep your school materials completely sorted without sacrificing your precious room space. Choose just one step from this guide today—such as setting up your active folder or doing the 15-minute reset on your desk—and test it out during your next school week. If you found this practical system helpful, consider sharing this checklist with a classmate or friend who struggles with a messy backpack and wants a simpler way to stay organized. Questions or feedback? Email us at organizeddailylife@gmail.com.
Comments